Plamia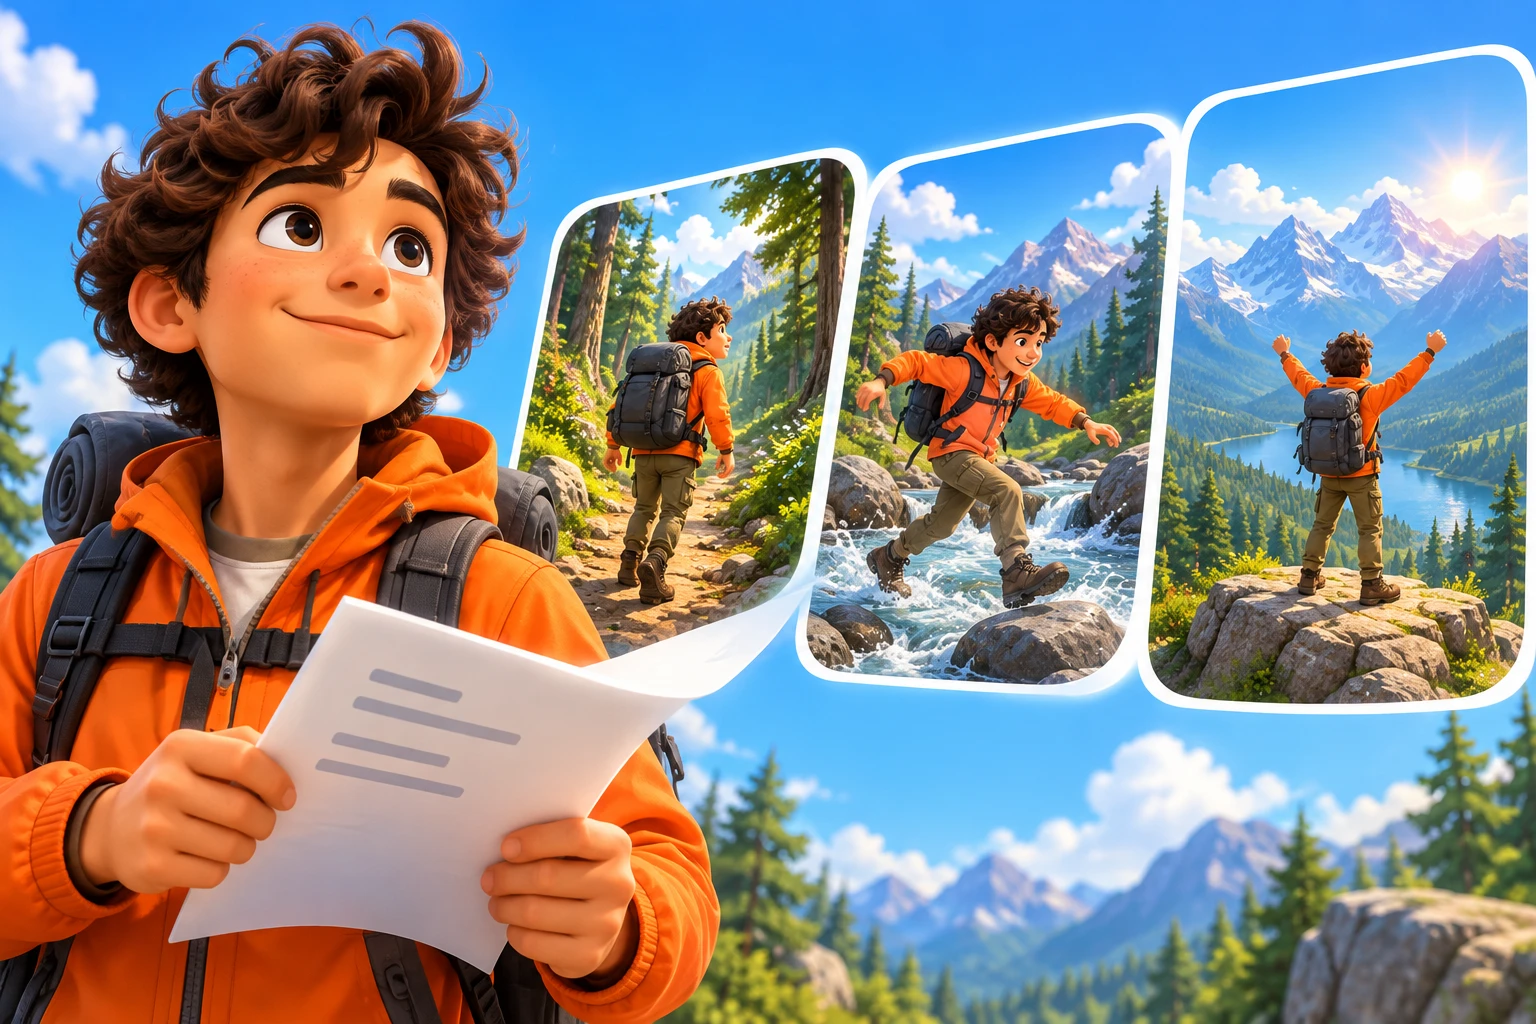
To turn a script into a short video in Plamia, paste your narration into the composer, choose a template, and review the voice and media settings. Select Create video to generate the narration, visuals, captions, and editable timeline. Review the result, adjust individual scenes, and export the finished video.
Follow the steps below with a complete 70-word script, current interface screenshots, and a finished video you can watch.
- PrepareRefine the script, gather useful photos or clips, and set the voice and visual style.
- AssembleCreate an editable video, then review the narration, scenes, captions, and pacing as one story.
- FinishCorrect meaning first, refine the timeline, and run a final publishing check before export.
Prepare the script for speech.
Write for the ear, not the page. Short sentences are easier to narrate, caption, and match with visuals. Each sentence should introduce one clear idea before moving to the next.
Read the script aloud before creating anything. This reveals long phrases, awkward transitions, and words that look natural in writing but sound unclear when spoken.
- Open with enough context to make sense on its own.
- Check names, specialist terms, dates, and numbers.
- Keep production notes separate from the spoken narration.
- Remove any sentence that does not move the story forward.
The current composer accepts up to 250 words. For this walkthrough, use this 70-word script about taking a first step:
You don’t need to feel ready to begin. You need to take one honest step. Send the message. Start the workout. Spend ten minutes on the thing you keep postponing. Confidence isn’t something you find before you act. It grows when you prove to yourself that you can act while you’re unsure. Today doesn’t have to change your whole life. Just give tomorrow’s version of you something to build on.
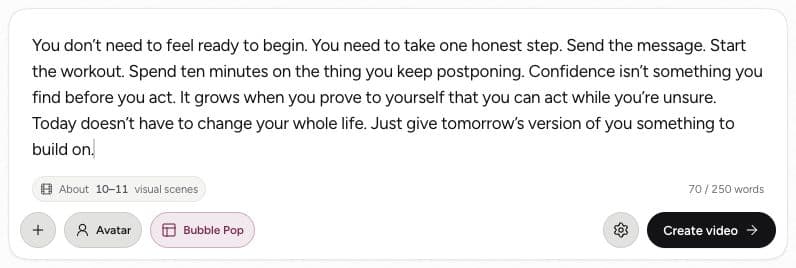
Choose a template before creating the video.
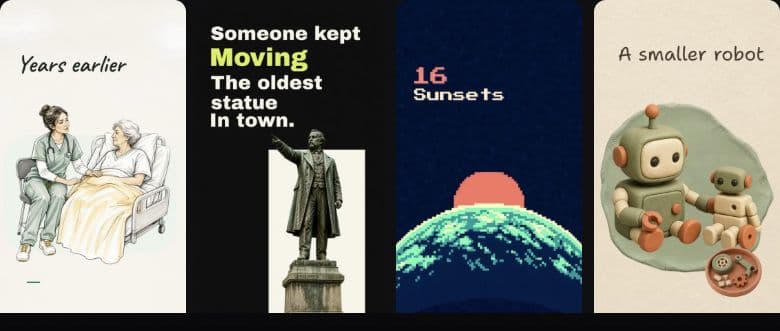
Browse Templates below the composer. Preview a design and select Try now to apply it. The selected template appears as a chip in the composer, so you can check your choice before generating.
For the motivational script above, a text-led template such as Kinetic Punch is a useful starting point. For a character-led story, compare a cartoon or 3D-led preview. Use the previews to choose the direction for your own version.
A template sets a coordinated design direction for the video. An image style controls the look of generated pictures. They are different choices; see how to choose a visual style if you need help distinguishing them.
Give every line a visual purpose.
Go through the script one sentence at a time and ask what the viewer should understand at that moment. A useful visual identifies a person, establishes a place, demonstrates a process, shows a change, or supports a factual statement.
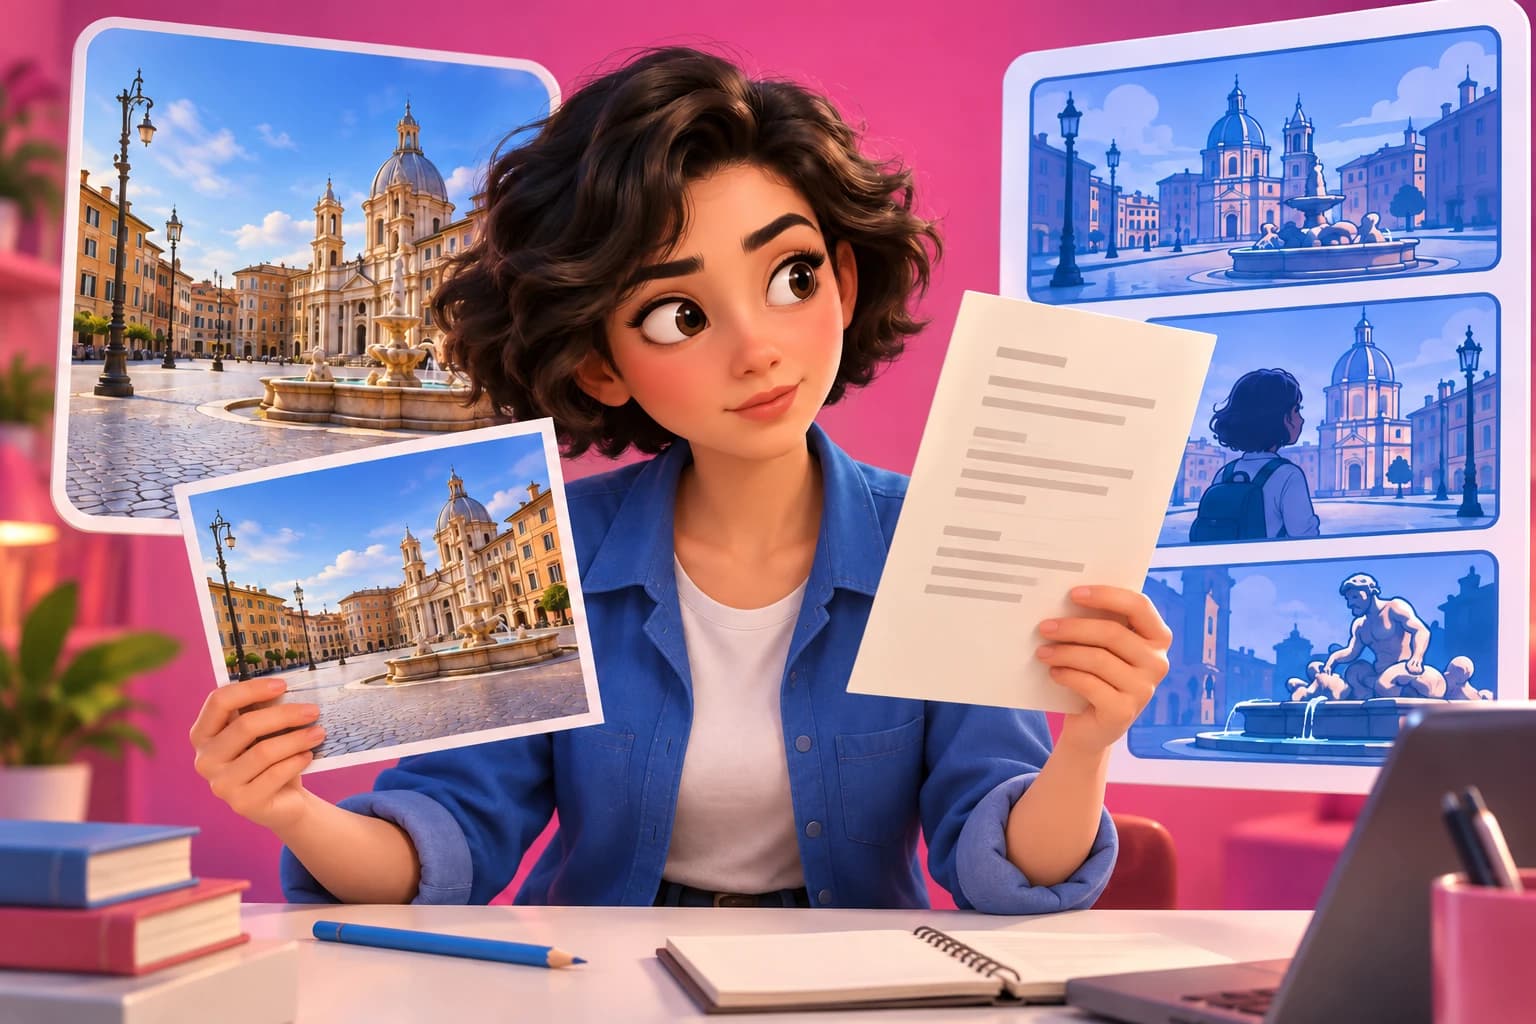
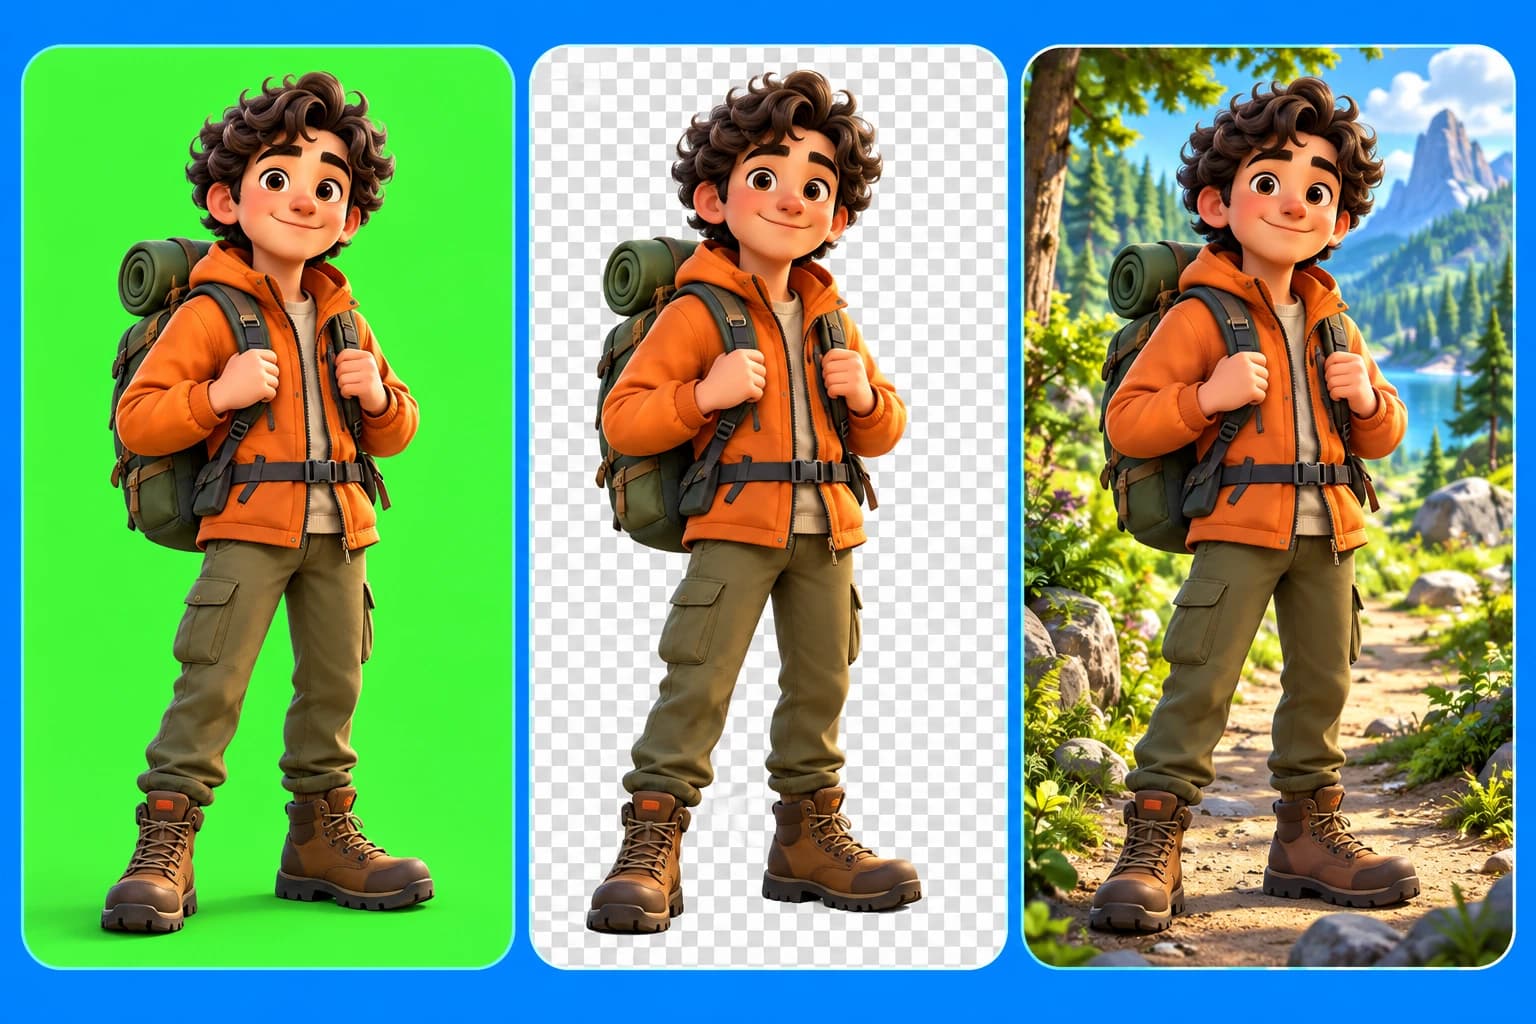
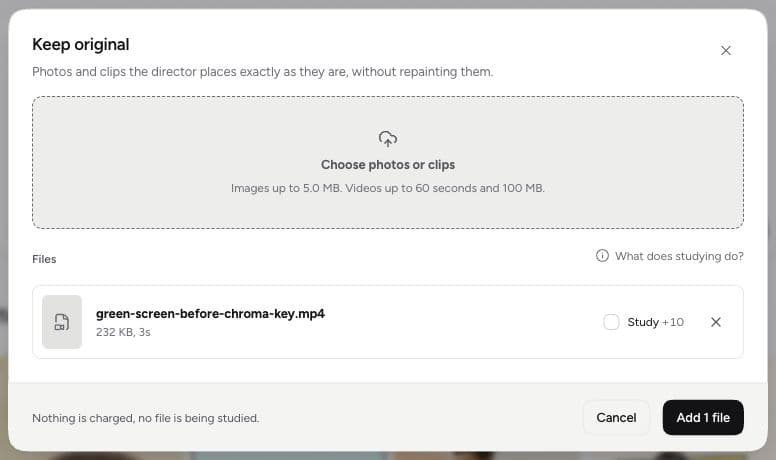
You can let Plamia generate the images without uploading anything. To restyle your own photos, use the composer’s plus button. To preserve original photos or video footage, open Video settings → Media → Original media → Add media. The Keep original dialog offers optional paid Study analysis; it is off by default.
In this example, a phone can support “Send the message,” a workout image can support “Start the workout,” and a person taking a step can connect the opening and ending. Check these connections when you review the generated scenes.
For a more detailed editorial process, read how to choose source material for a news video.
Choose only the settings that change the story.
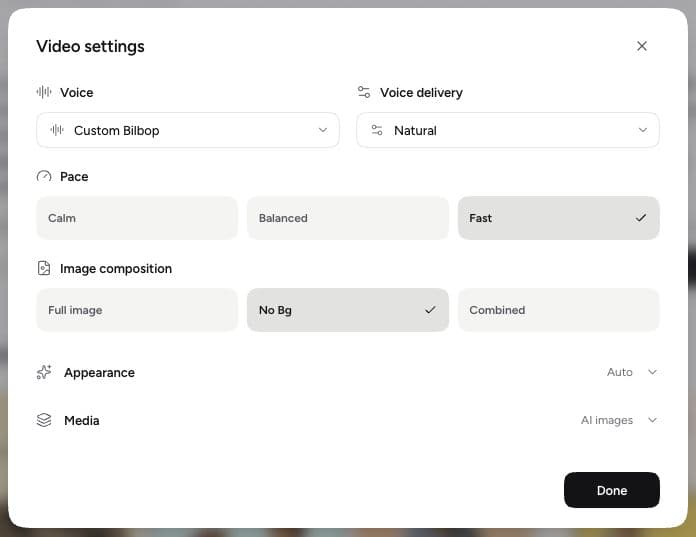
Open Video settings with the gear beside Create video. Choose a Voice, Voice delivery, and Pacethat fit the subject. A technical explanation may benefit from an even delivery, while a personal story may need something warmer and less formal.
An AI avatar is optional. Use one when a recurring guide helps connect the opening, transitions, or conclusion. The subject matter should still carry the main visual explanation.
Expand Appearance to review the visual choices and Media to review captions, library use, and original media. If you want spoken captions, check that Captions is enabled. If the narration still needs work, follow the explainer-script structure.
Review the generated video as a complete story.
Select Create video when the script, media, and main creative choices are ready. Review the credit estimate before confirming generation. Plamia assembles narration, visuals, motion, and sound on an editable timeline, with spoken captions when enabled. The finished file below shows one result made from the example script.
Treat the generated video as a starting point and review it in four passes:
- Watch without pausing. Is the story easy to follow?
- Listen closely. Does the voice sound natural?
- Read the captions. Are the words and emphasis accurate?
- Pause on each scene. Does the visual support the spoken line?
See the same process across three productions: the Taipei 101 explainer, the FIFA news-video workflow, and the script-only story workflow.
Watch the script become a finished short.
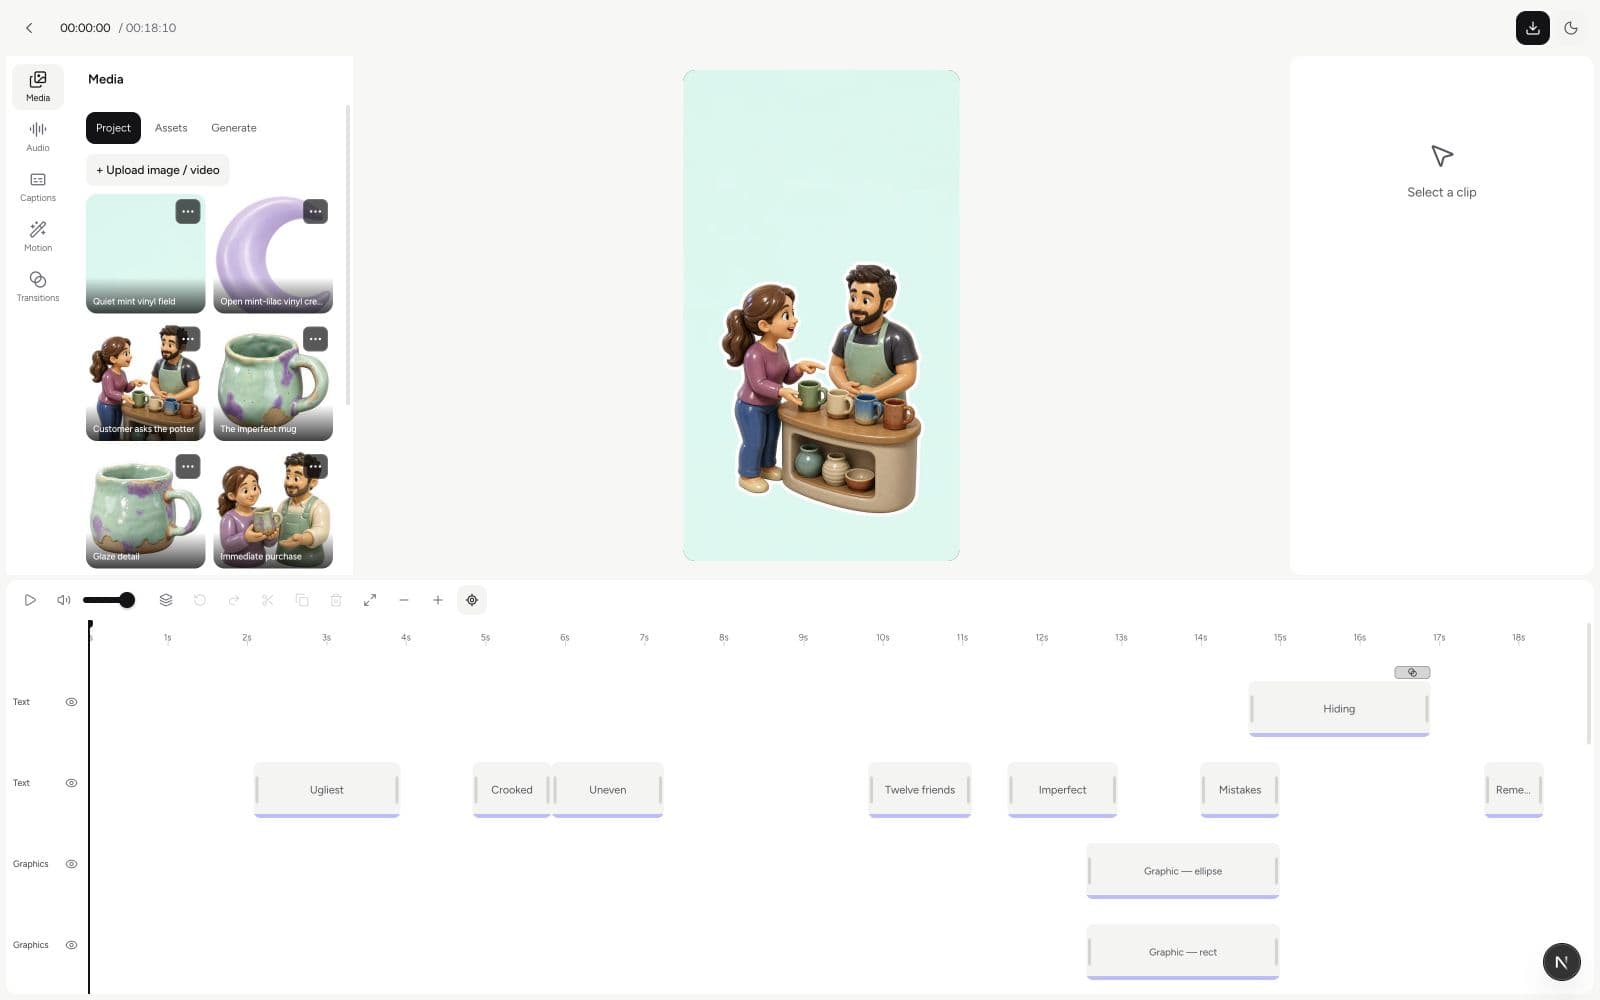
Compare the words above with the narration in this video. Notice how the opening establishes the message, the middle gives concrete actions, and the ending returns to taking one step. The visual treatment supports that sequence rather than introducing a different story.
Use this as a reference for the complete script-to-result workflow. Your template, voice, generation, and timeline edits will produce a different version. For more detail on this format, see the motivational video walkthrough.
Correct meaning before adding polish.
Start with any scene that is factually wrong, misleading, or unrelated to the narration. Then correct the voiceover and captions, followed by timing and visual polish.
- Replace inaccurate or weak visuals.
- Correct caption text, line breaks, and emphasis.
- Adjust clip positions and scene timing.
- Refine motion, transitions, music, and sound effects.
- Preview the complete sequence again.
A simple edit with accurate visuals is stronger than an elaborate edit that makes the story harder to understand.
Run one final publishing check.
Watch the finished video once with sound and once muted. The first pass checks narration and rhythm; the second reveals whether the visual sequence and captions can carry the story on their own.
- Verify names, dates, numbers, and quotations.
- Confirm that every uploaded file can be used for the intended publication.
- Check caption contrast over every background.
- Keep important text and faces clear in the vertical frame.
- Make sure the final scene does not end before the last word finishes.
When the review is complete, use the editor’s export control to render and download the video. Keep the browser tab open and in the foreground while the export runs.
One final pass with sound. One without.
- FactsNames, dates, numbers, quotations, and source context are accurate.
- FrameFaces, captions, and important details remain clear in the vertical crop.
- RightsEvery uploaded file can be used for the intended publication.
- EndingThe final scene holds long enough for the last word to land.
Common questions about script-to-video
Do I need to upload images before creating a video?
No. Plamia can generate visuals from your script. Upload photos when you want specific source material restyled, or use Keep original when the pixels should stay unchanged.
Can I edit the generated video?
Yes. The result opens on an editable timeline. You can replace visuals, change caption text, adjust clip timing, and refine motion and sound before exporting.
Will I get exactly the same video from this script?
No. The script supplies the narration, while the template, settings, generated assets, and your edits shape the result. Use the example to understand the workflow, not as a guaranteed reproduction.